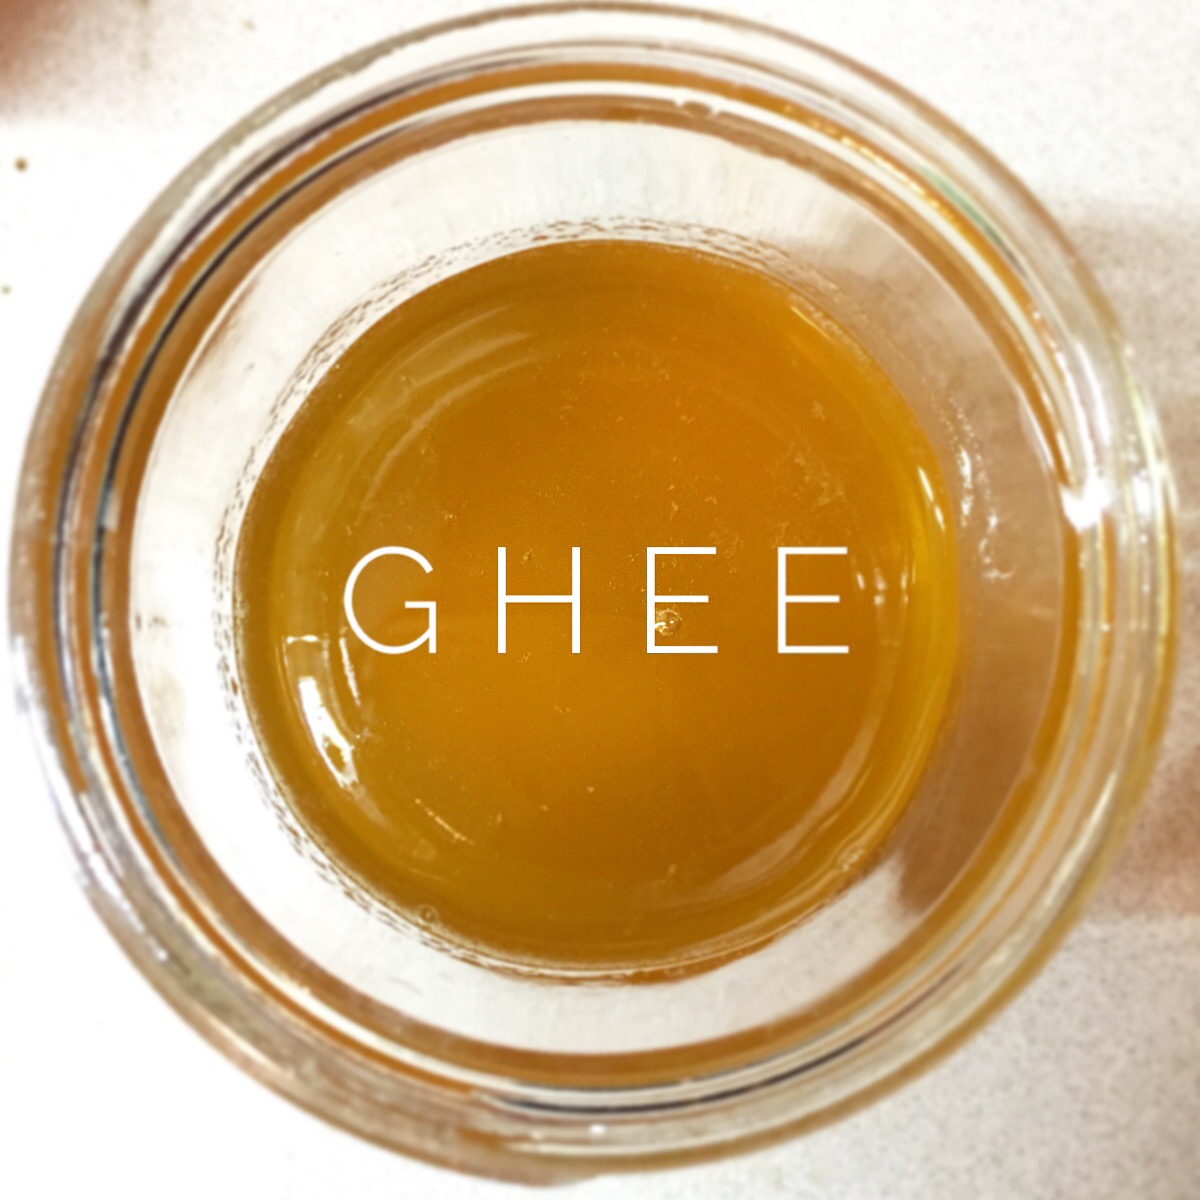
If you haven’t heard of this popular cooking fat that is making a comeback right now, I would be very surprised! GHEE is everywhere! But WHY?
This ancient form of clarified butter has been used as a healthy cooking fat for longer than documentation can confirm. Ghee is essentially strained brown butter, resulting in “butter oil“. When the butter is slowly warmed on the stove, the water evaporates, milk solids and proteins begin to separate from the fats, and you can easily separate these fats to retrieve the clarified butter (clarified butter is the star ingredient in the mother sauce, known as Hollandaise). Now, cook that butter a little longer, and browning begins to occur. Soon, you develop a nutty depth and complexity that can only be found in Ghee. Both Ghee and Clarified Butter have incredible health benefits. As long as the butter is from a healthy source (such as cows raised on pastures, fed grass, free of growth hormones and antibiotics, fed non-gmo supplemental feed), the resulting “butter oil” is high in conjugated linoleic acid (CLA combats cancer and cardiovascular disease, and inflammation), Vitamin A, Vitamin K2, beta carotene (you can tell this by comparing the golden color of grass-fed butter next to the pale white color of conventional butter), and has a far better Omega-3 fatty acid ratio than conventional butter. You should also note that most of the milk solids and proteins (lactose and casein) are removed during the process of making ghee and clarified butter. This means nearly everyone but the most sensitive individuals can enjoy the benefits of ghee in their diet. Did I mention that ghee and clarified butter have a much higher smoke point than regular butter? You can pan fry and roast foods in ghee without causing damaging free radicals!
Sure you can buy grass-fed organic ghee at the supermarkets now, but they are more than $1.00 per ounce! You can make your own ghee for less than half that price. Try out this step by step tutorial, and let me know how it goes!
Homemade Ghee
Step 1:
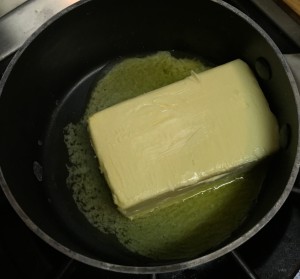
Using a small sauce pan, melt 8 oz of butter on low heat. (you may dice the butter to rush this step)
 Step 2:
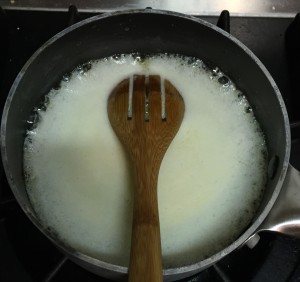
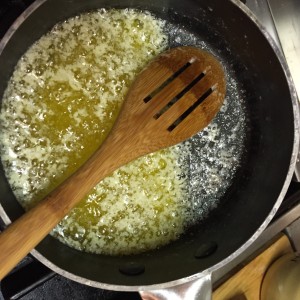
About a minute after the butter is all melted, the top layer will become fluffy foam. 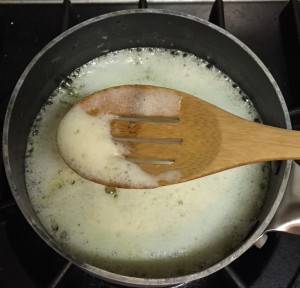 To encourage the water to evaporate, and allow air to escape, you can rest a slotted wooden spoon upside-down like the second photo below. Or gently move the foam around, by skimming the top, to let air escape.
Step 3:
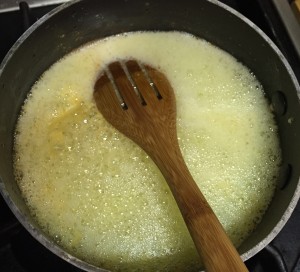
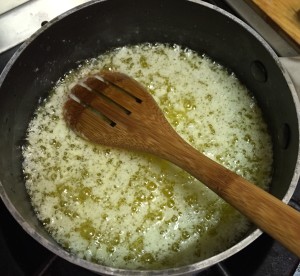
About 2 minutes later, you will notice the foam is no longer fluffy, and starts to bubble more and separate.
Step 4:
Continue cooking, and if you tilt the pan, you’ll notice almost all of the white milky solids will have fallen to the bottom of the pan, while the top is still bubbling and foaming again.
 Step 5:
In these next few minutes (around 9-12 minutes into the process) the milk solids will be browning at the bottom of the pan.
Step 6:
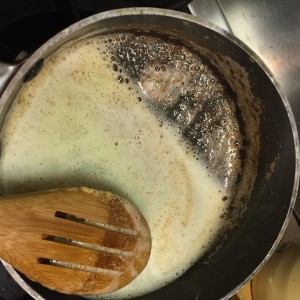
Tilt the pan to check on the browning. Keep cooking until it is dark brown, and remove the pan from the heat when it looks like it might begin to burn.
 Step 7:
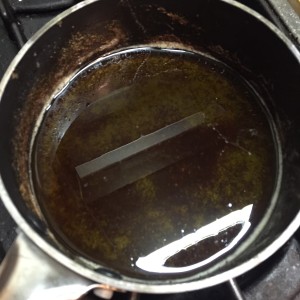
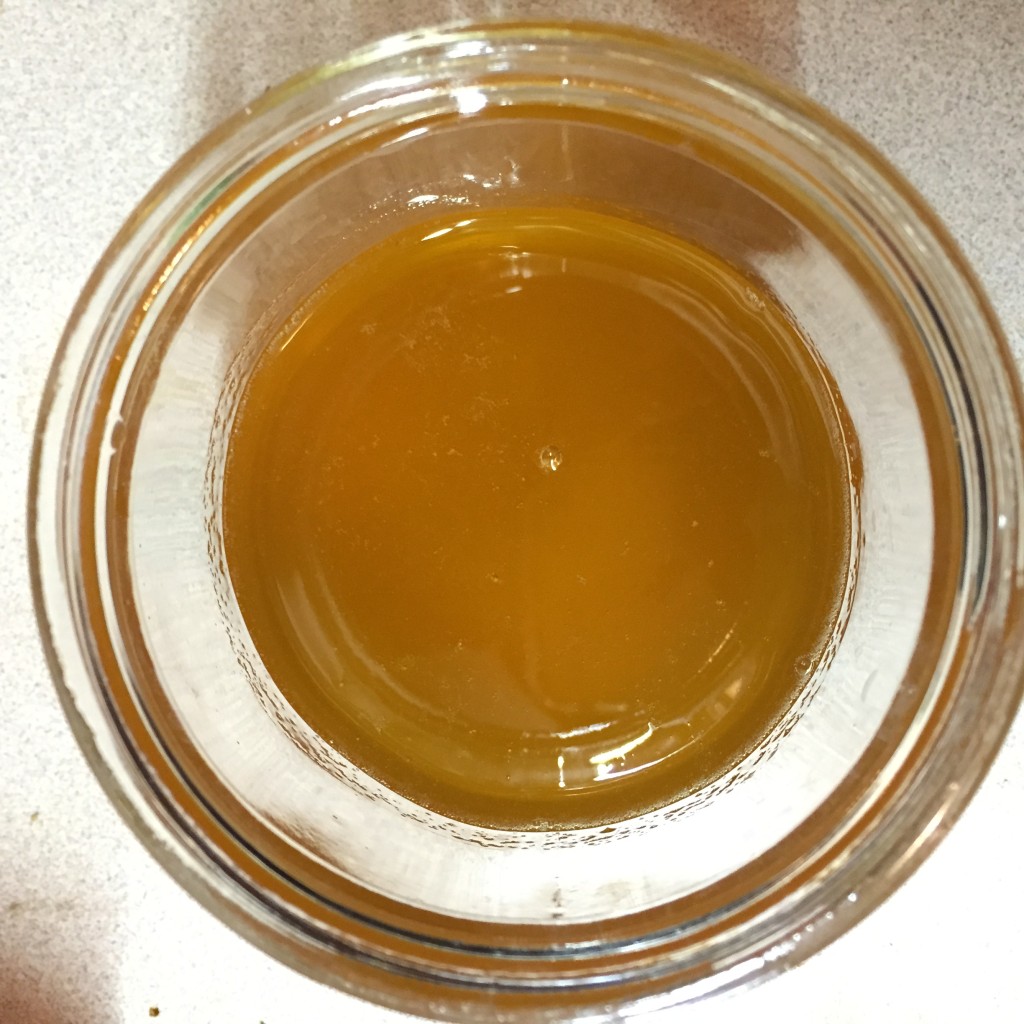
Allow it to cool for 10 minutes, and then skim off all of the remaining foam that floats on top. This is what you are left with:
 Step 8:
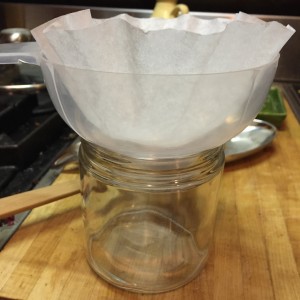
Pour the ghee through cheesecloth or a coffee filter resting on a funnel.
Congratulations! You made your own GHEE!
Ghee is safe kept in an airtight container at room temperature for up to a month, or you may refrigerate it to prevent any possibility of spoiling. Make a bunch so you can stock up! You can freeze ghee too.
*To make Clarified Butter (which has a cleaner, more neutral taste, and shorter processing time), carefully skim all of the foam off the top in Step 2. Once you have cleared off as much foam as possible, without disturbing any milk solids that settled to the bottom, you may ladle or pour out the remaining fat (carefully avoiding the milk solids on the bottom). Clarified Butter may not last at room temperature for more than a couple of weeks since it is not strained like ghee is.







This seems so simple. I love the smell of the Ghee and homemade Ghee is better than buying them from the corner store. Ghee normally stays fresh for a long time, but I use Infinity Jars to keep them extra fresh for a long time. https://infinityjars.com/collections/screw-top-jars
I tried explaining what this is to Papa on Friday… he didn’t get it, so I’m gonna try making this with him. Thanks for the tips!
Oh yeah? I wonder if he’s ever heard of clarified butter or ghee called a different name or if it’s just not a fat that Italians ever used. They used olive oil for nearly everything, and lard usually just in baking. Let me know how it turns out!!